
Mastering is a dark art – an acquired skill that takes years to ‘master’ (pardon the pun). In this post, I would like to share my top tips to master your own song in three easy steps! Before following these steps, make sure that the mix of you new record is the best it can be!
Step 1: Equalisation
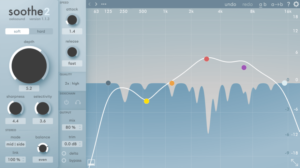
First things first, EQ! You need to create a tonal balance and ensure that the track ‘sits’ right when playing on multiple sound systems. Small equalisation moves of no more than 3 dB is key here as this will prevent extreme shifts in phase and allow you to retain a pristine sound. In addition, you could also use this opportunity to use corrective equalisation techniques such as ‘notching’ out any resonant frequencies between 200 Hz and 8 kHz that are overly resonant and harsh to the ear.
After equalisation, the result that you should have is a track that feels balanced. Typically this means tightness in the low-end, mid and high-frequencies that are not overly harsh and of course openness and clarity in the high end. Sometimes it may be beneficial to add a small low and high-shelf bump too!
Pro Tip
Using a high-quality EQ plugin such as the Pro Q 3 by Fabfilter is ideal for corrective equalisation during the mastering process. In addition, using an analogue modelled mastering EQ such as the Softube Curve Bender or UAD Manley Massive Passive can help add some weight to your low end and an ‘even more open’ top-end than what a typical digital EQ could achieve.
Step 2: Dynamics Modification
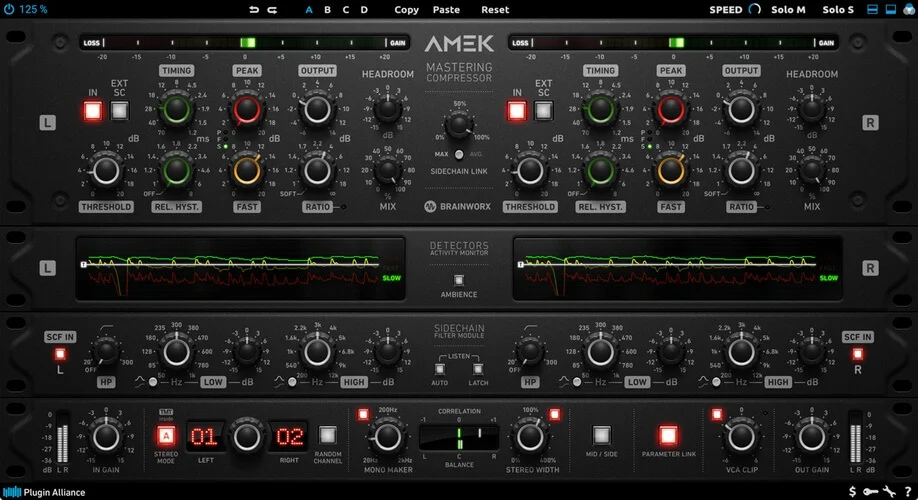
Step 2 is to fix your dynamics. By this, generally after mixing there will be sections of your track that feel a little quite or a little loud at times. Typically after mixing I see a lot of clients submit tracks that feel ‘unstable’ in the low-end.
Pro Tip
If you have studio monitors, very gently rest your hand on the driver/cone. This will help you understand how the low-end ‘feels’ in your track as though you were listening through a large system with a dedicated sub-frequency driver.
To fix this, firstly, it is useful to make use of multi-band compression such as using the Waves C4 or Fabfilter Pro MB. The idea is to compress the low-end up to ~80 Hz some-what harshly whilst compensating for gain with a slow attack and release equivalent to 100ms each. This should add a lot of control and stability to your sub frequency components. You can then also use an additional band of compression to control the low-mids between ~80 and 300 Hz. You may also take this further and compress more bands such as the mids and highs, although typically I find that this can begin to control the dynamics too much and you can often loose the ‘openness’ of a track.
Lastly, you may add some gluey compression which typically is a broadband compressor with a ratio of 2:1 or 4:1 and a slow attack and fast release. This will add some punch to transients in addition to ‘glue’.
Step 3: Temporal Processing
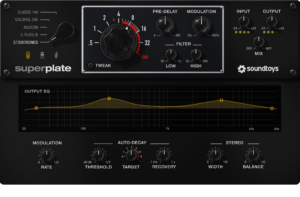
Using time-based effects is usually frowned upon, but sometimes adding a quality stereo widener plugin such as the SSL Fusion Stereo Width plugin can work a charm and make your tracks sound a little wider than life whilst retaining centre information that isn’t warped or distorted.
Lastly
Don’t forget to limit so that you have a gain reduction of no more than 3 dB and set a ceiling to -1 dB to avoid true-peak clipping and clipping when data converting to lower quality file formats such as for streaming.